Seeds, to be completely frank, can be finicky things to deal with.
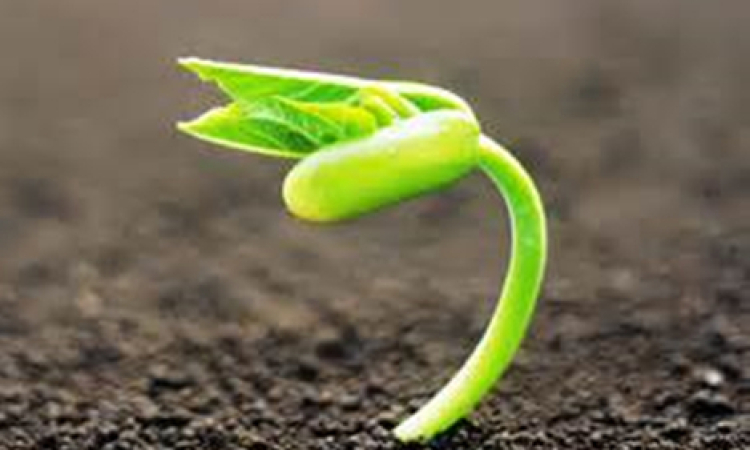
In nature, seeds can be quite picky, some of them requiring a freeze before sprouting, some of them needing to pass through a certain animal, some of them lying in wait for seemingly eons before showing any signs of life. Luckily, for the home gardener, most common fruit and vegetable seeds are little more pliable. However, as anyone who has tried to cultivate from seed knows, that pliability doesn’t always equate to successful germination. Often, much of what we have planted never sees the light of day again, and that can leave us discouraged and a bit wary. But, there are some techniques that can help, things the pros do that increase success and, in the long run, yields much. It all begins with getting that seed to germinate.
Store Seeds Properly: Before we even get into putting seeds into the soil, we have to realize that seeds should be stowed away properly in between times of cultivation. Seeds are best maintained in a cool, dark and dry location, such as a refrigerator, root cellar or food pantry. Store them in sealable containers that are labeled with the seeds’ type, date of purchase, and place of purchase (in case a particular source proves really reliable or not so much).
Soak the Seeds First: Seeds need water to germinate. Some seeds, such as legumes, have a tough outer coating, so it works well to soak them for a few hours to a full day before planting them. Other seeds can be checked for viability by giving them a quick soak (a few hours). Those that sink after a few hours are ready to roll, while the floaters have sadly perished into compost bin fodder. Soaking the seeds beforehand prevents any wasted effort cultivating debunked seeds.
Tamp the Seeds and Cover Them Gently: When putting those soaked seeds into place, be sure to help them out by tamping them down gently, so that they are in contact with the soil below. Use something with a wide, flat surface, such as a pestle or bottom of a glass jar, and press lightly. After that, really tender cultivators might go so far as to dust, through a flour sieve, the final layer of soil, so any little tendrils of green trying to sprout have nothing overly bulky impeding their progress.
Keep the Soil Moist: Nothing will end a happy period of germination more regularly than dry soil. Seeds don’t like it. They like moisture, well-drained soil, mind you, but soil that has a little H2O at the ready. Obviously, watering consistently helps with this. Some other good methods for keeping soil moist is having light, absorbent material, such as coconut coir or perlite, in it to both trap water and keep the soil aerated. That said, make sure the soil can drain: Saturated is not the same as moist.
Keep the Soil Warm: The majority of seeds, especially those for a vegetable garden are into the springtime temperatures, somewhere in the 60s to 70s range. There are various heating pads and space heaters available for producing ideal temperatures, but in most cases, a kitchen window, laundry room, or simple greenhouse cabinet in a sunny spot can go a long way.
Be Patient and Informed: Different seeds take different amounts of time to germinate. Some typical garden plants take up to a month, so be aware how long it takes each plant being cultivated. Then, give it a bit of extra time before calling it a failure. Just like people, some seeds are late bloomers but will eventually come on like gangbusters.
Provide Sun and Love: Tiny seedlings need sun/light to survive, so it’s important to have them either in a window or otherwise exposed. Careful cultivators will also rotate their seed trays and pots to make sure that the plants get even time in the sun. Love comes a little tougher: grazing, or let’s say caressing, a hand over the top of young seedlings is said to strengthen their stems. They will naturally adjust their growth to account for standing up to the occurrence. As well, once they get some true leaves going, provide them with some quality meals, like a compost tea.
Acclimating them to Life as a Plant: Then, before putting them out into the garden, slowly acclimate them to the wind and sun. Put them out for a few, somewhat supervised hours, one day. Then, put them out a little longer, sheltering them at night. Leave them out at night while still in their containers. Then, show them out to the garden for their final destination. (Note: Some seeds — peas, different roots, squashes — prefer to be planted directly in beds, so those require a little adjustment but basically the same conditions.) Then, remember to let some of this year’s seeds produce next year’s seeds. Start your own seed bank and save a bundle on garden cost next season.

